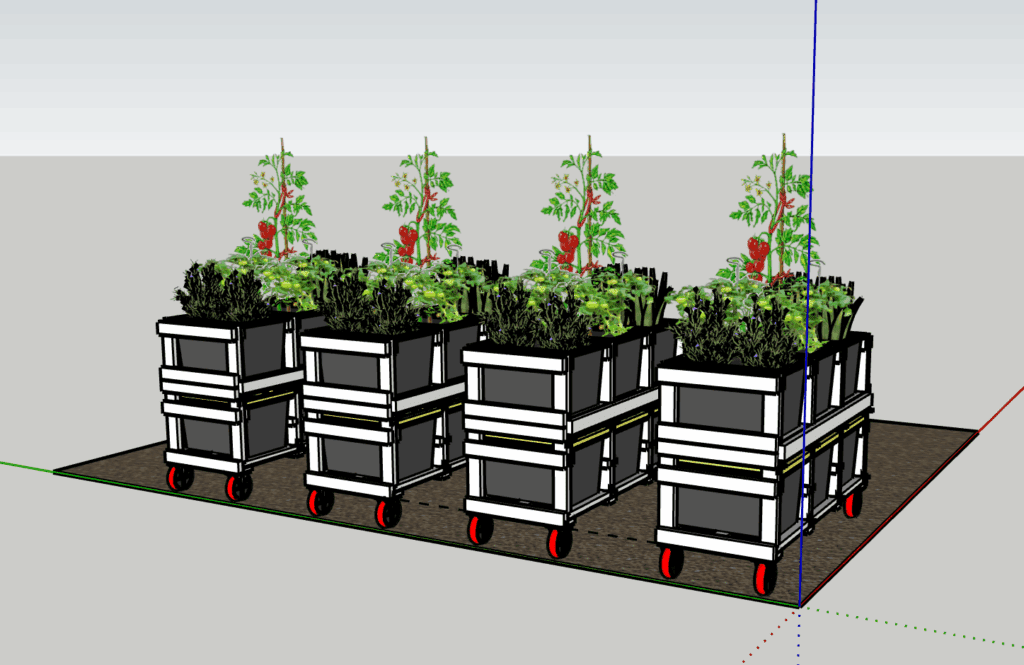

27-Gallon Totes


Dimensions
| Out-to-Out Body Only Frame Slots | 30.8″ x 20.3″ x 14.5″ 26″ x 17″ x 15″ 27″ x 18″ x 16″ |
Cut List (Per Unit)
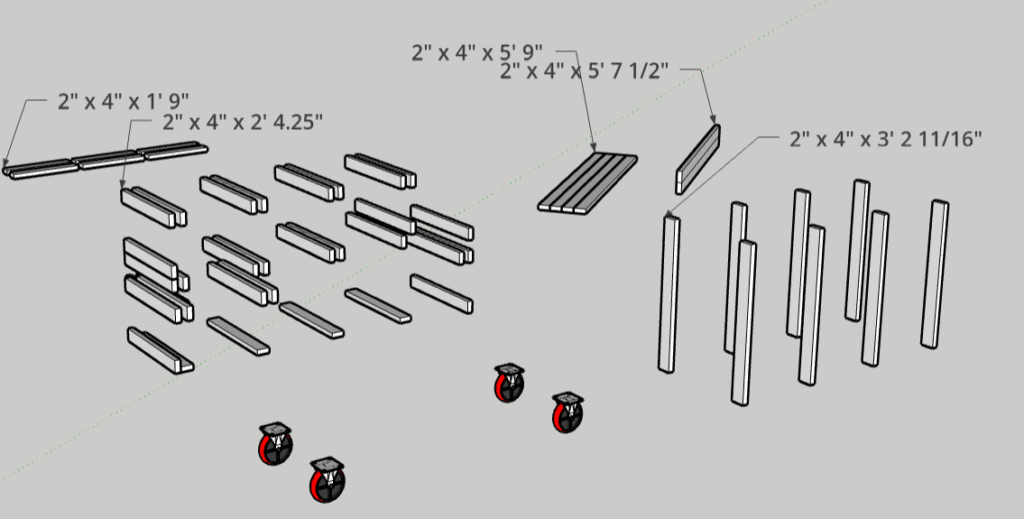
| x6 | 2″ x 4″ x 1′ 9″ |
| x32 | 2″ x 4″ x 2′ 4.25″ |
| x4 | 2″ x 4″ 5′ 9″ |
| x2 | 2″ x 4″ x 5′ 7.5″ |
| x8 | 2″ x 4″ x 3′ 2 11/16″ |
| x4 | Heavy Duty All-Terrain Casters |
| x4 | Steel Plates |
Total Cut Requirements:
| Quantity | Cut Length | Total Linear Inches |
|---|---|---|
| 6 | 21″ | 126″ |
| 32 | 28.25″ | 904″ |
| 4 | 69″ | 276″ |
| 2 | 67.5″ | 135″ |
| 8 | 38.6875″ | 309.5″ |
🔢 Total inches needed: 1,750.5 inches
📏 Each 8′ board = 96″ usable
➡️ Min. 19 boards required (1,750.5 ÷ 96 = 18.23, rounded up)
🪚 Optimized Cutting Layout (Per 2×4 board)
Let’s break this into groupings that minimize waste:
🔹 For the 32 pieces at 28.25”:
- You can fit 3 cuts of 28.25” per board (3 × 28.25 = 84.75″)
- That uses 11 boards total (32 ÷ 3 = 10.67, round up)
- Remaining waste per board ≈ 11″
🔹 For the 8 pieces at 38-11/16” (38.6875”):
- You can fit 2 cuts per board (2 × 38.6875 = 77.375”)
- That takes 4 boards
- Remaining waste per board ≈ 18.625″
🔹 For the longer cuts:
- (69”) → 1 per board → needs 4 boards
- (67.5”) → 1 per board → needs 2 boards
🔹 For the short 21” pieces:
- You can fit 4 per board (4 × 21 = 84”)
- Needs 2 boards (6 ÷ 4 = 1.5, round up)
📦 Final 2×4 Purchase Summary:
| Cut Size | Qty Needed | Boards Used | Notes |
|---|---|---|---|
| 28.25″ | 32 | 11 | 3 per board |
| 38.6875″ | 8 | 4 | 2 per board |
| 69″ | 4 | 4 | 1 per board |
| 67.5″ | 2 | 2 | 1 per board |
| 21″ | 6 | 2 | 4 per board |
✅ Total 2x4s to buy: 23
You’ll have some medium-sized offcuts left, especially from the longer cuts and the 38″ batch, which could be useful for bracing or future jigs.
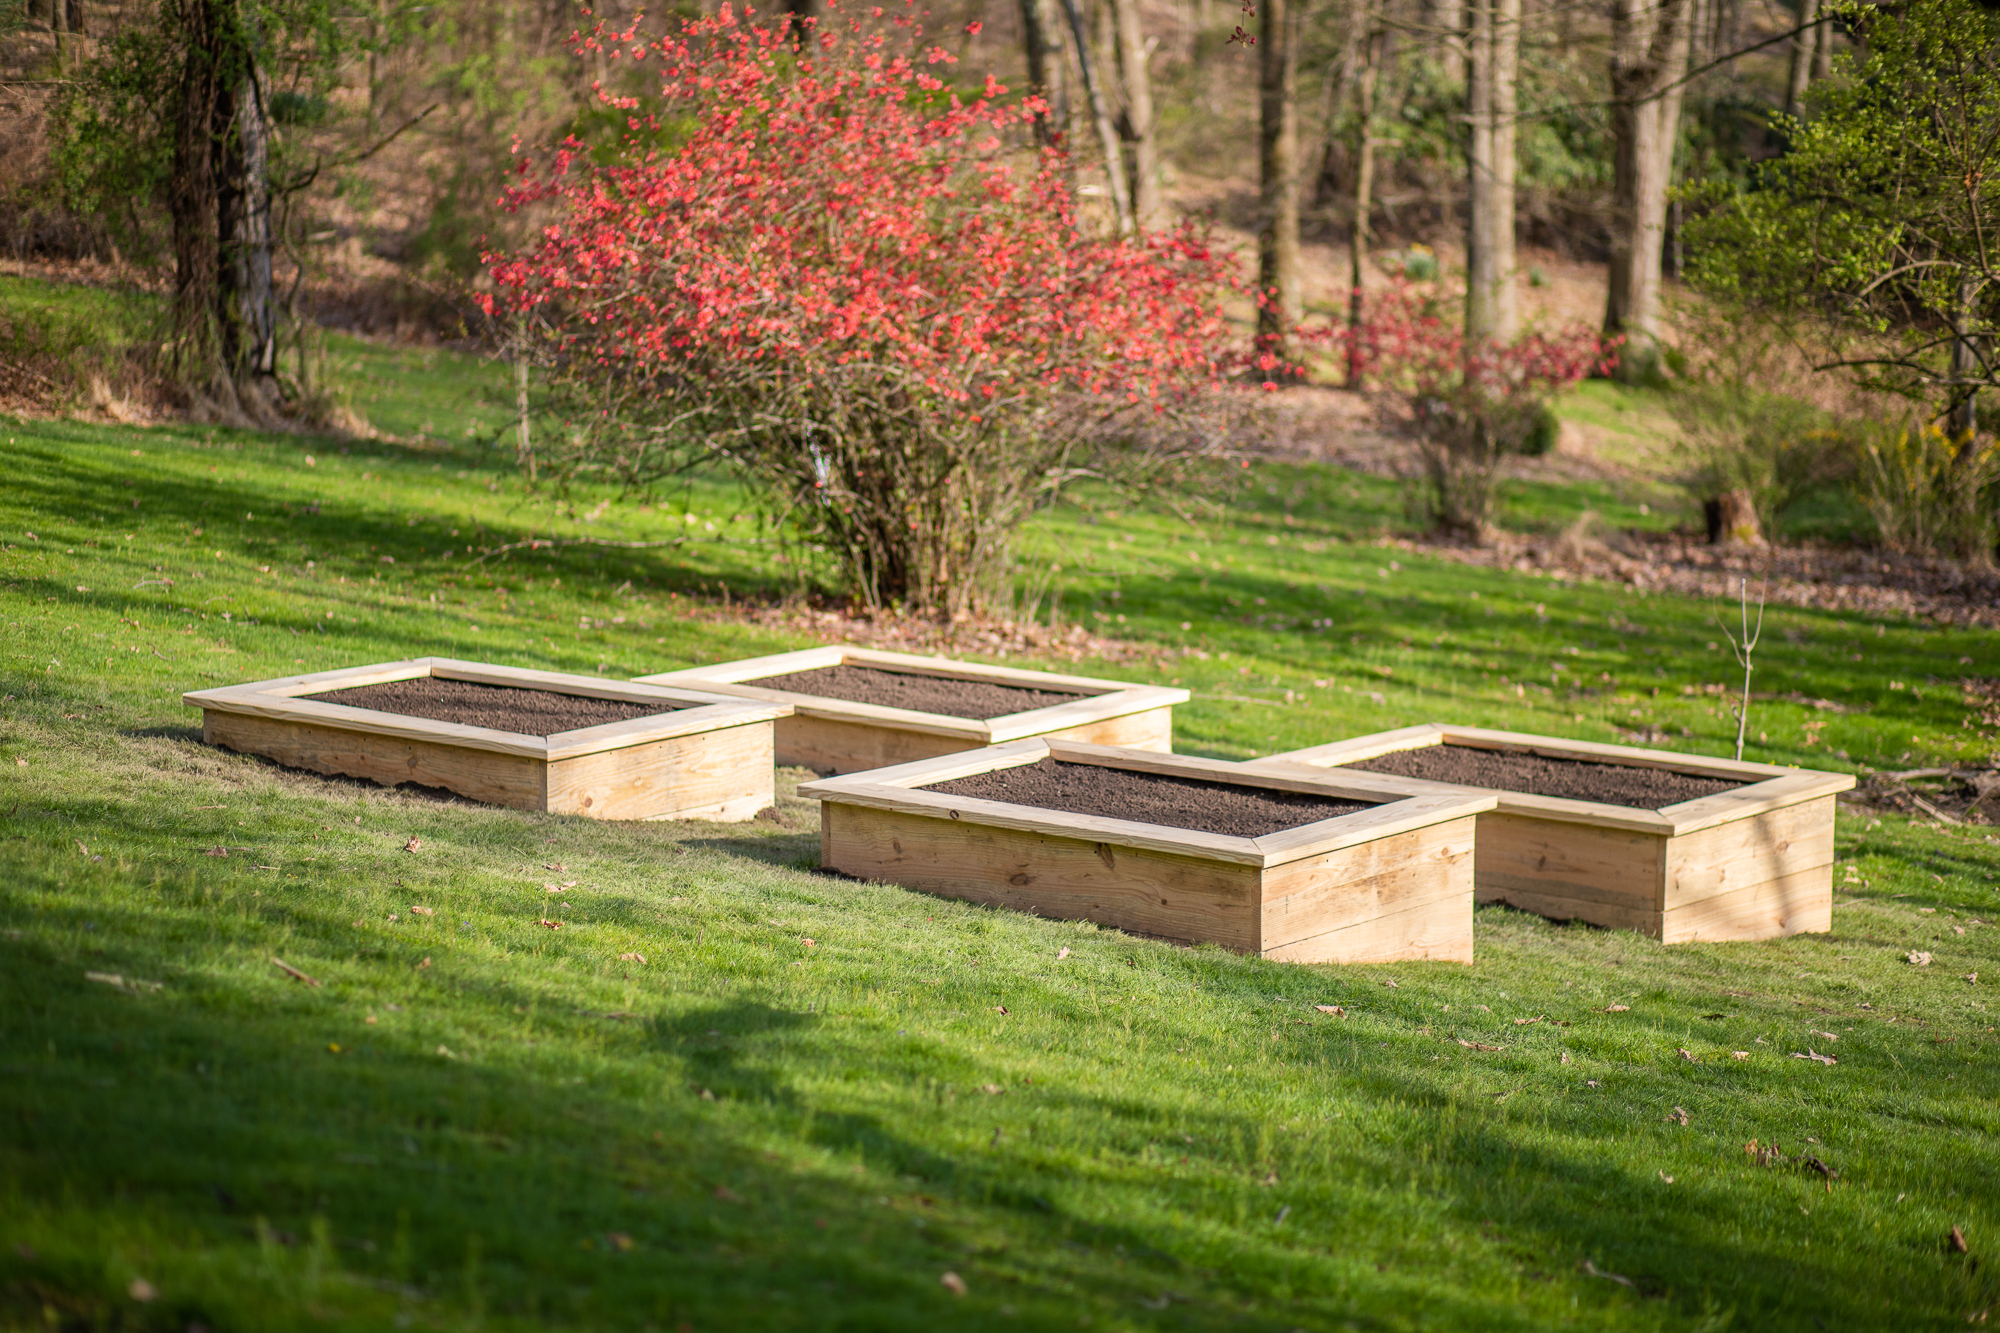
Notes
Customize this design to accommodate more bins, a double-row layout, or tiered stacking.
Each bin can be converted into a passive watering system:
Add a layer of chunky gravel to the bottom.
Lay a perforated drainage pipe (e.g., corrugated or PVC with holes) into the gravel.
Cover gravel with landscape fabric to prevent soil from clogging the reservoir.
Fill remaining space with soil. Plant roots will wick water up from the reservoir.
Drain holes may still be drilled in the side walls if overflow control is needed.
Can line slots with hardware cloth or weed barrier to catch soil spillage.
🛒 Current Prices on 8-ft 2×4s:
Home Depot
- #2 Premium-grade KD‑HT fir stud (8 ft) — $3.22 each; drops to $2.90 each when you buy 50+ lowes.com+15homedepot.com+15homedepot.com+15.
- Standard 8-ft Southern Yellow Pine (#2) is around $3.65 lowes.com+6lowes.com+6lowes.com+6.
Lowe’s
- Typical #2 kiln-dried spruce–pine–fir (8 ft) is in a similar range (~$3.50–$4.00), but I couldn’t find a precise per-unit online price .
💡 Bottom line: The least expensive 8‑ft 2×4 lumber you’ll generally find is the #2 KD‑HT fir stud at HD for $3.22 (drop to $2.90 in bulk).
🎨 Untreated + Latex Paint: Will It Hold Up?
Yes—with some caveats:
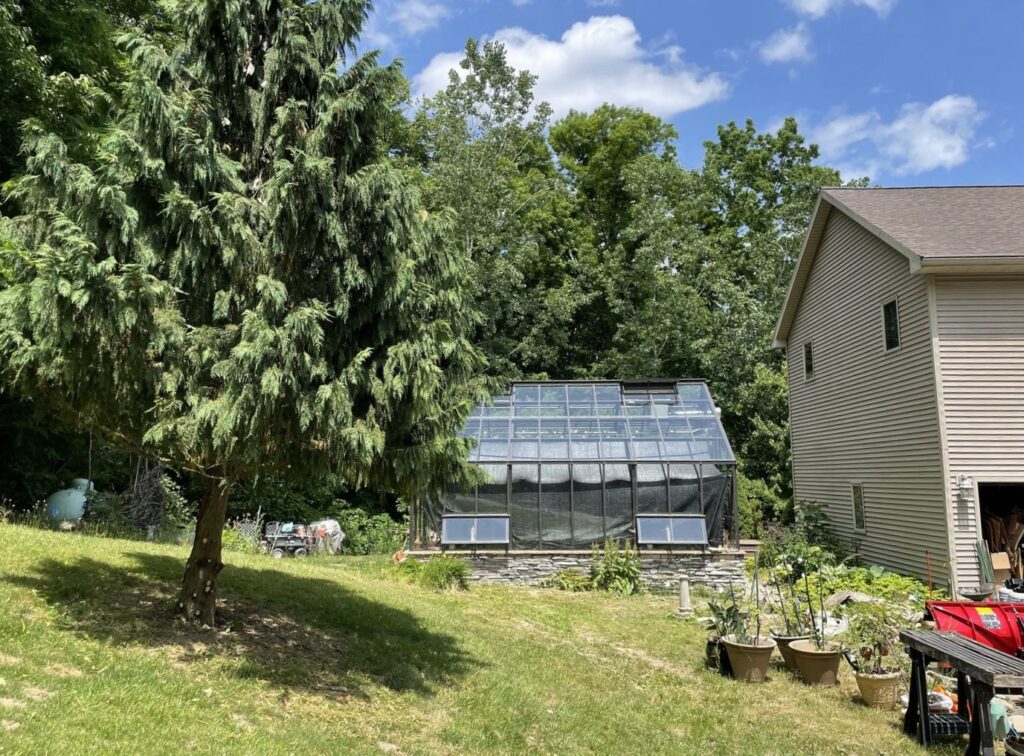
- Greenhouse Environment Helps:
- Since your setup is indoors with controlled heat and humidity, the wood won’t be exposed to rain, prolonged moisture, or soil contact, which greatly extends its lifespan.
- Paint Offers Protection:
- A good latex primer + exterior latex paint will seal the wood, preventing moisture absorption and natural decay for several seasons.
- Make sure to paint all sides of each board—including ends and cut edges—to ensure full protection.
- Recommended Lifespan:
- With untreated, painted 2×4s indoors, you can expect 5–10 years of good service, likely more if you touch up wear areas over time.
- Watch for any warping or soft spots where soil or gravel might stay damp.
- Optional Extras:
- If you want even longer durability, seal boards with exterior primer or polyurethane after painting.
- Pressure-treated lumber is an alternative, but it’s pricier (~$5–$8 per board) and carries extra handling considerations—not really needed inside a greenhouse.
✅ Recommendations:
- Buy the #2 KD‑HT fir studs at Home Depot ($3.22)—they’re straight, affordable, and easy to paint.
- Fully paint all surfaces, including the ends, before assembly.
- Keep an eye on moisture-exposed areas near the gravel and soil—touch up paint if needed over time.