One Pleased Peanut

Tools & Treasures

Narrowleaf Vallisneria: Graceful Grass-Like Elegance for Your Aquarium
Narrowleaf Vallisneria (Vallisneria nana) stands out as a resilient and visually striking addition to small to medium aquariums, making it an aquarium hobbyist favorite. Its grass-like appearance and low-maintenance nature contribute to its popularity.
Key Features:
Care Guidelines:
At-A-Glance Characteristics:
Care Snapshot:
Narrowleaf Vallisneria offers both beauty and resilience, making it an excellent choice for aquarists seeking an enchanting and undemanding aquatic plant.
Helpful, simple—and inexpensive—tool for your gardening tool box! This simple mat snaps in the corners and forms a tray.
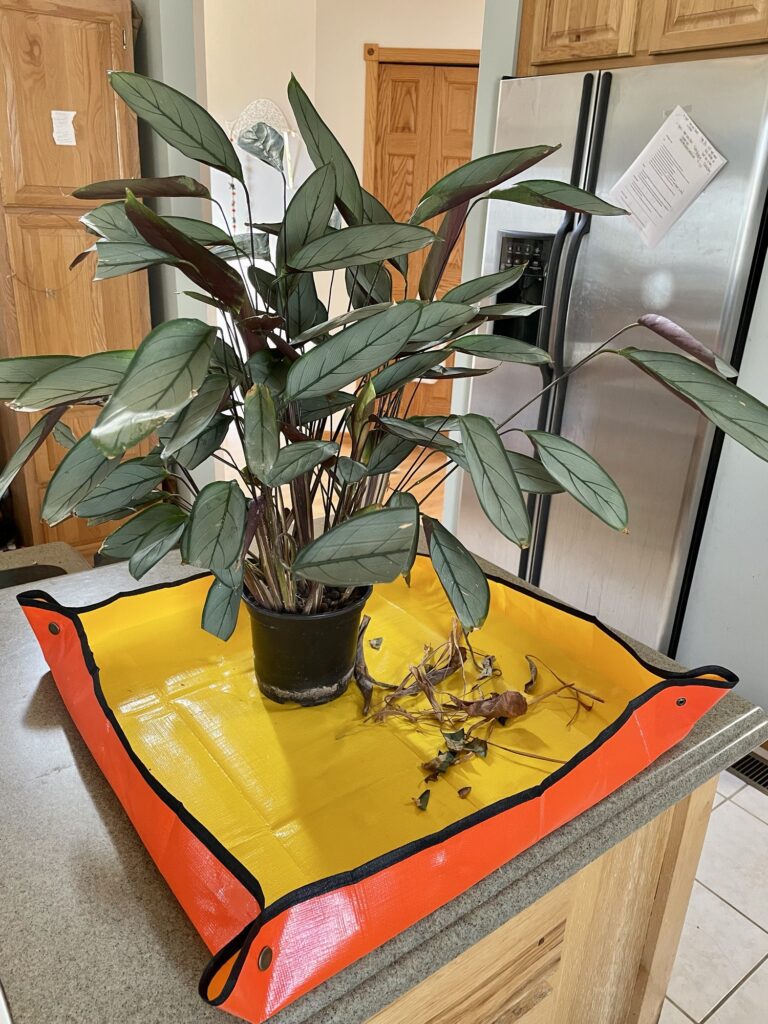
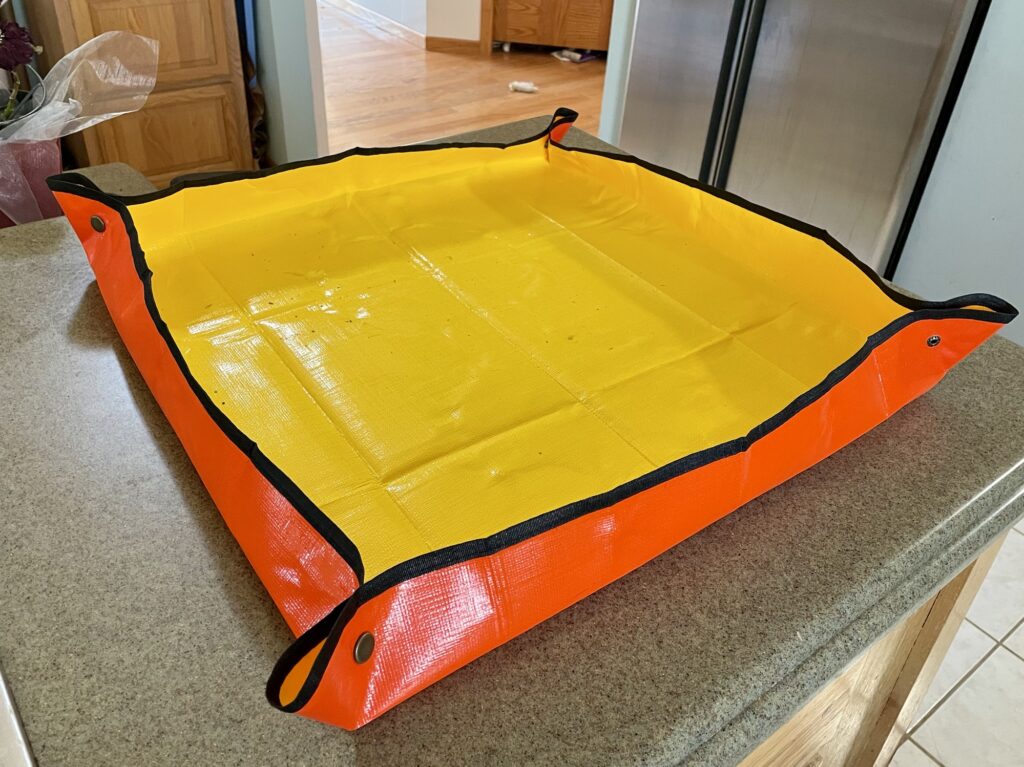
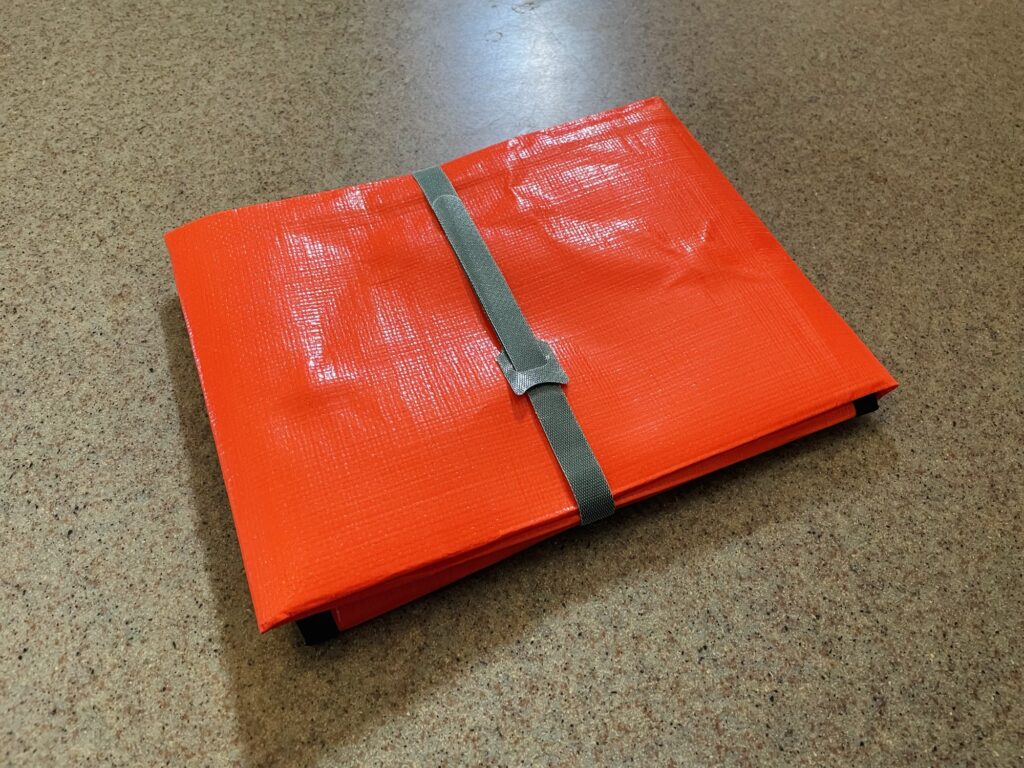
It helps control the inevitable mess and chaos when you’re trimming, repotting, dividing, etc. When you’re done working you just throw away any debris, give it a wipe off, and fold it up! Easy to tuck into a drawer or shelf until the next time you need it. No more mud in the kitchen! 
(Steve will appreciate this, too. No more grit in his grub!)
Similar products available in an array of sizes, colors, and from different merchants.
Are you excited about adding new aquatic plants to your established tank?
Before diving in, it’s crucial to consider potential threats like pests, diseases, and unwanted chemicals that could accompany those vibrant green additions.
In this post, learn about the importance of quarantining new aquarium plants and provide practical methods to ensure a safe transition into your aquatic haven.
Why Quarantine Plants?
Whether sourced from a local store or received through online orders, aquarium plants may harbor pests, parasites, algae, diseases, or pesticides.

From harmless snails to harmful planaria and hydra, introducing these unwelcome guests can disrupt the balance of your tank, leading to potential fatalities among your fish and shrimp. Algae, diseases, and lingering pesticides are also silent threats that may take away the focus from your thriving tank.
How to Quarantine Aquarium Plants
Similar to quarantining fish, it’s essential to keep new plants in a separate, fish-free tank for 3-4 weeks before introducing them to the main aquarium. Performing routine water changes during this period is advisable. For those looking to expedite the process to one week, daily water changes and the use of a water conditioner like SL-Aqua Black More Stabilizer can be effective.
Recommended Methods of Sterilizing Aquatic Plants
Before placing plants in the quarantine tank, a thorough sterilization process is recommended. Here are three effective methods:
Conclusion
Quarantining new aquarium plants is a crucial step in maintaining the health and balance of your tank. By following these sterilization methods, you can enjoy a clean start and ensure the safety of your fish, shrimp, and the overall ecosystem. Whether you’re a seasoned aquarist or a beginner, prioritize the well-being of your aquatic inhabitants for a thriving and beautiful planted tank.